Are you new with background jobs and you don’t know where to start?
Do you sometimes don’t understand some posts because they all take for granted that you already have some knowledge? Well, don’t be afraid because you are in the right place!
Let’s start with some context: What is a background job?
Here are two definitions I find helpful for you to understand:
“A background or asynchronous job (or task) is one that is processed outside of the usual request/response workflow that is part of any modern web framework.”
“A job is typically a process that runs outside of your application request cycle”
If you’ve gotten at least one of these definitions, we are ready to start!
First, let’s create our rails app from scratch:
rails new background-jobs
We just created our app. Now, we have to set the gems we are going to use for the background jobs, so we have to add them in our gemfile.
gem 'redis-rails'
gem 'sidekiq'
gem 'sidekiq-scheduler'
Then run bundle install
But what are these gems for?
Redis – Provides a full set of stores (Cache, Session, HTTP Cache).
Sidekiq – Background processing for Ruby, uses threads to handle many jobs at the same time in the same process. (Sidekiq uses Redis to store all of its job and operational data, this is why we need Redis).
Sidekiq Scheduler – Is an extension to Sidekiq that pushes jobs in a scheduled way, Mimicking cron utility.
Let’s start with some setups:
Setting up Redis
Add the next line in config/application.rb:
config.cache_store = :redis_store, "redis://localhost:6379/0/cache", { expires_in: 90.minutes }
Setting up Routes
Add the next line in routes.rb:
mount Sidekiq::Web => '/sidekiq'
Then run your Rails server and run Redis in another terminal with redis-server:

Now visit http://localhost:3000/sidekiq
You should see something like this:

This is the Sidekiq dashboard where you can see all the jobs that are being handled.
Now we are ready to create our first background job
First run in your terminal rails g sidekiq:worker this should output the following:
create app/workers/first_worker.rb
create test/workers/first_worker_test.rb
You should probably be thinking: “Hey man wait!, you told me we were going to create a job, what do you mean by worker?” Don’t worry about it, they are the same thing. ActiveJob from rails calls it a Job whereas Sidekiq calls it a worker. You can use either one just keep in mind that ActiveJob does not provide access to the full set of Sidekiq options so, if you want to customize options for your job, you might need to make it a worker.
In this case we are using a worker.
Now go to first_worker.rb, you should see something like this:
class FirstWorker
 include Sidekiq::Worker

 def perform(*args)
   # Do something
 end
end
Add puts ‘Im a background worker’ instead of # Do something.
Now we can test how it works but first, run Redis and Sidekiq.
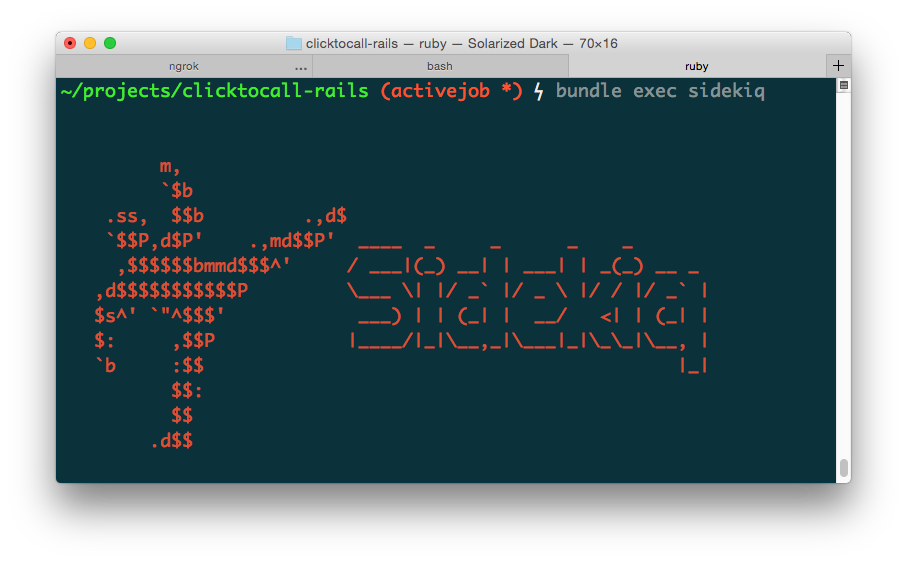
Open another terminal and run bundle exec sidekiq -C config/sidekiq.yml.
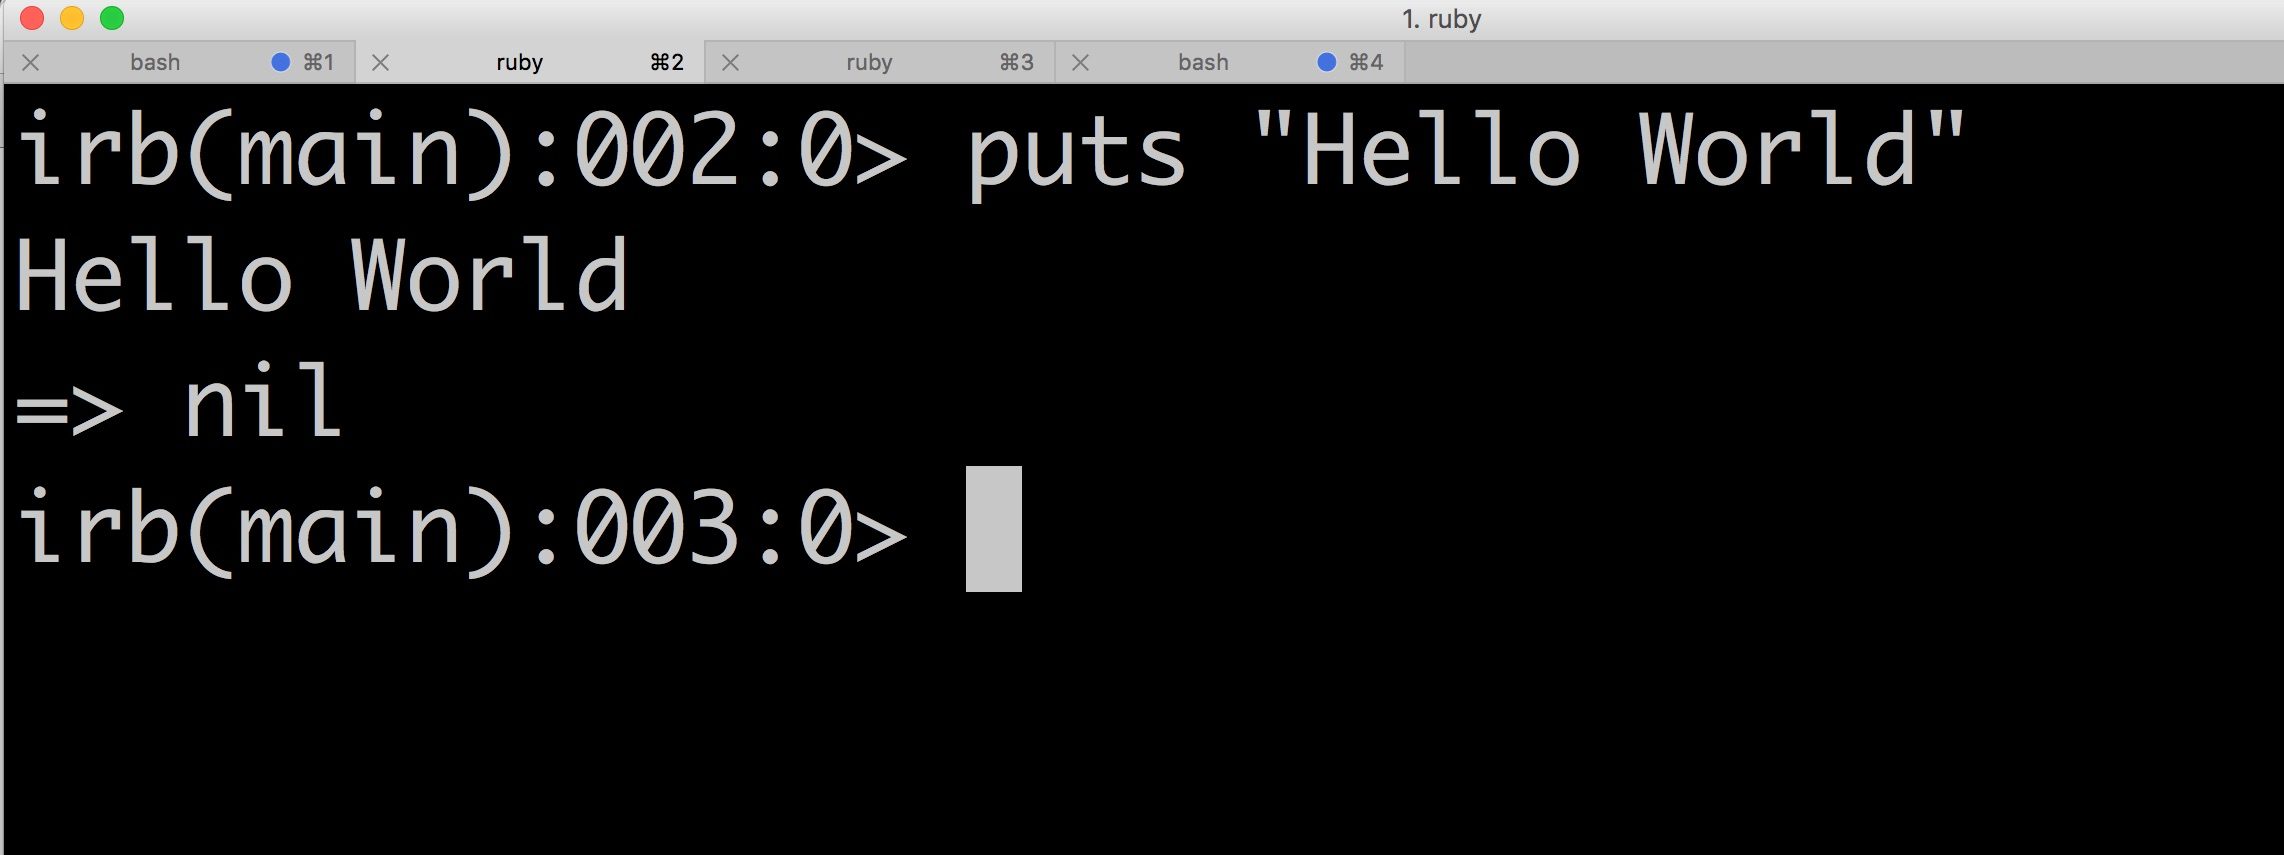
Then open a Rails console and run FirstWorker.perform_async and go to the terminal where your Sidekiq is running, you should see something like this:

You can see Sidekiq starting the job, execute it (we can see the “I’m a background worker”) and then notice that the job is done.
Now let’s schedule it.
The Sidekiq configuration file is a YAML file that Sidekiq server uses to configure itself, by default located at config/sidekiq.yml
It is only necessary to create the file if you need to set advanced options, such as concurrency pool size, named queues, PID file location, etc.
Then we have to create a file named config/sidekiq.yml.
In this configuration file we can set up other things like concurrency, queues, and where the pid and log file will be generated; we can add these lines above the schedule:
:concurrency: 25
:pidfile: ./tmp/pids/sidekiq.pid
:logfile: ./log/sidekiq.log
:queues:
 - default
:schedule:
  first:
    cron: '0 * * * * *'   # Runs once per minute
    class: ‘FirstWorker’
In Redis, Sidekiq uses a single queue called “default”. If you want to use multiple queues, you can specify them as arguments to the Sidekiq command, or set them in the Sidekiq configuration file. Each queue can be configured with an optional weight. A queue set up with a weight of 2 will be checked twice as often as a queue set up with a weight of 1.
In this case we only use the default queue, but we specify the queues because we will use a mailer queue in the future.
Now we can focus in :schedule:, here’s where the magic starts:
cron: '0 * * * * *' # This means it will run once per minute.
“But how this format works? I have never seen it”
Don’t worry here is how it works:

And here are some examples:
* * * * * *                      Each minute.
59 23 31 12 5 * .                One minute before the end of the year, if the last day of the
                                 year is Friday.
59 23 31 DEC Fri *               Same as above (different notation).
45 17 7 6 * *                    Every  year, on June 7th at 17:45.
45 17 7 6 * 2001,2002            Once a   year, on June 7th at 17:45, if the year is 2001 or
                                 2002.
Extra, extra!
With this gem sidekiq-scheduler, you can get access to more supported types: every, interval, at, in.
every: '45m' # Runs every 45 minutes at: '3001/01/01'
in: 1h # pushes a sidekiq job in 1 hour, after start-up
every: ['30s', first_in: '120s']
Now that you understand how it works, let’s check if it does.
Wait! We are missing something!
Type up the next line at the top of first_worker.rb
require 'sidekiq-scheduler'
Don’t forget to require the gem in your worker.
Now start your Sidekiq server again and see the output:

Cool, right?
But? Why I can’t see the starting and ending process now?
Good question, remember the other configuration we set in the sidekiq.yml?
Well if you remember the line:
:logfile: ./log/sidekiq.log
That means we have Sidekiq put the logs on a specific file, now go to that file and you will see something like this:

As you can see in the output, the worker has been loaded with the schedule cron, and then the worker is being executed every minute.
Now you are done with your scheduled background job, congrats!
“Wow thanks pal, now that I know how to make a scheduled worker, how would I know in which case I should create one?”
Well, you should use a background job when you have to process a lot of queries, for example, suppose you have 500 users and you have to send them an email every week, this would be a ton of queries and processing, so here could be a good place to address all the work to a background worker.
Thanks for reading, have a good day developing some badass workers.