Feature specs are integral to a good test suite. Whenever we add new features to a web application, we want to make sure they work as expected and that they still work even when we do changes to underlying code or libraries. One good way to test for this is with feature specs since they can control the browser to simulate a user who could be navigating through the app. In this post, we are going to learn how to set up a Rails app to do feature specs on Chrome both locally and on CircleCI.
Requirements
To do this, we need:
- Ruby and Rails installed in our development machine.
- A GitHub repo for this app.
- rspec and apparition to run our tests and connect to Chrome, respectively. We are installing them as part of the setup, so do not worry about them now.
Building the app up
First, we need to create a new Rails app.
rails new feature-spec-demo -T --skip-active-record
The -T flag tells Rails not to add a testing framework for us. We want to setup rspec for ourselves. The --skip-active-record flag does just that. We want to skip it since we will not need a database for this app.
Once our app is bootstrapped, we cd into it and open the Gemfile. There should be a development group. We need to add rspec in there, so it looks something like this:
group :development do
  gem 'rspec-rails'
  gem 'apparition'

# ... the rest of the gems in the group.
end
Once we have those gems in the Gemfile, we run:
bundle install
Next, we use the helpers provided by rspec-rails to initialize our test suite:
rails generate rspec:install
This would create all the dirs required, along with spec/rails_helper.rb as the setup hook for our tests.
Connecting to Chrome
For our next step, we need to tell rspec to use apparition in order to connect to Chrome whenever we run a feature spec. We do that by adding the next code at the end of spec/rails_helper.rb:
require 'capybara/apparition'

Capybara.register_driver :apparition do |app|
  options = {
      debug: false,
      headless: !ENV['OPEN_BROWSER'].present?,
      screen_size: [1200, 900],
      skip_image_loading: true
  }
  Capybara::Apparition::Driver.new(app, options)
end

Capybara.javascript_driver = :apparition
This will register apparition as a driver which we can use to run feature specs. Note that we are using an environment variable in the headless option. It will come in handy if we want to see the browser running the specs. We are also passing skip_image_loading: true, so when running in headless mode, the browser doesn’t bother to load images since they will not be visible anyway. Feel free to change any of this in order to suit your project’s needs.
Adding our first feature spec
Now we are ready to create our first feature spec. Go ahead and create it by using these commands:
mkdir -p spec/features
touch spec/features/first_feature_spec.rb
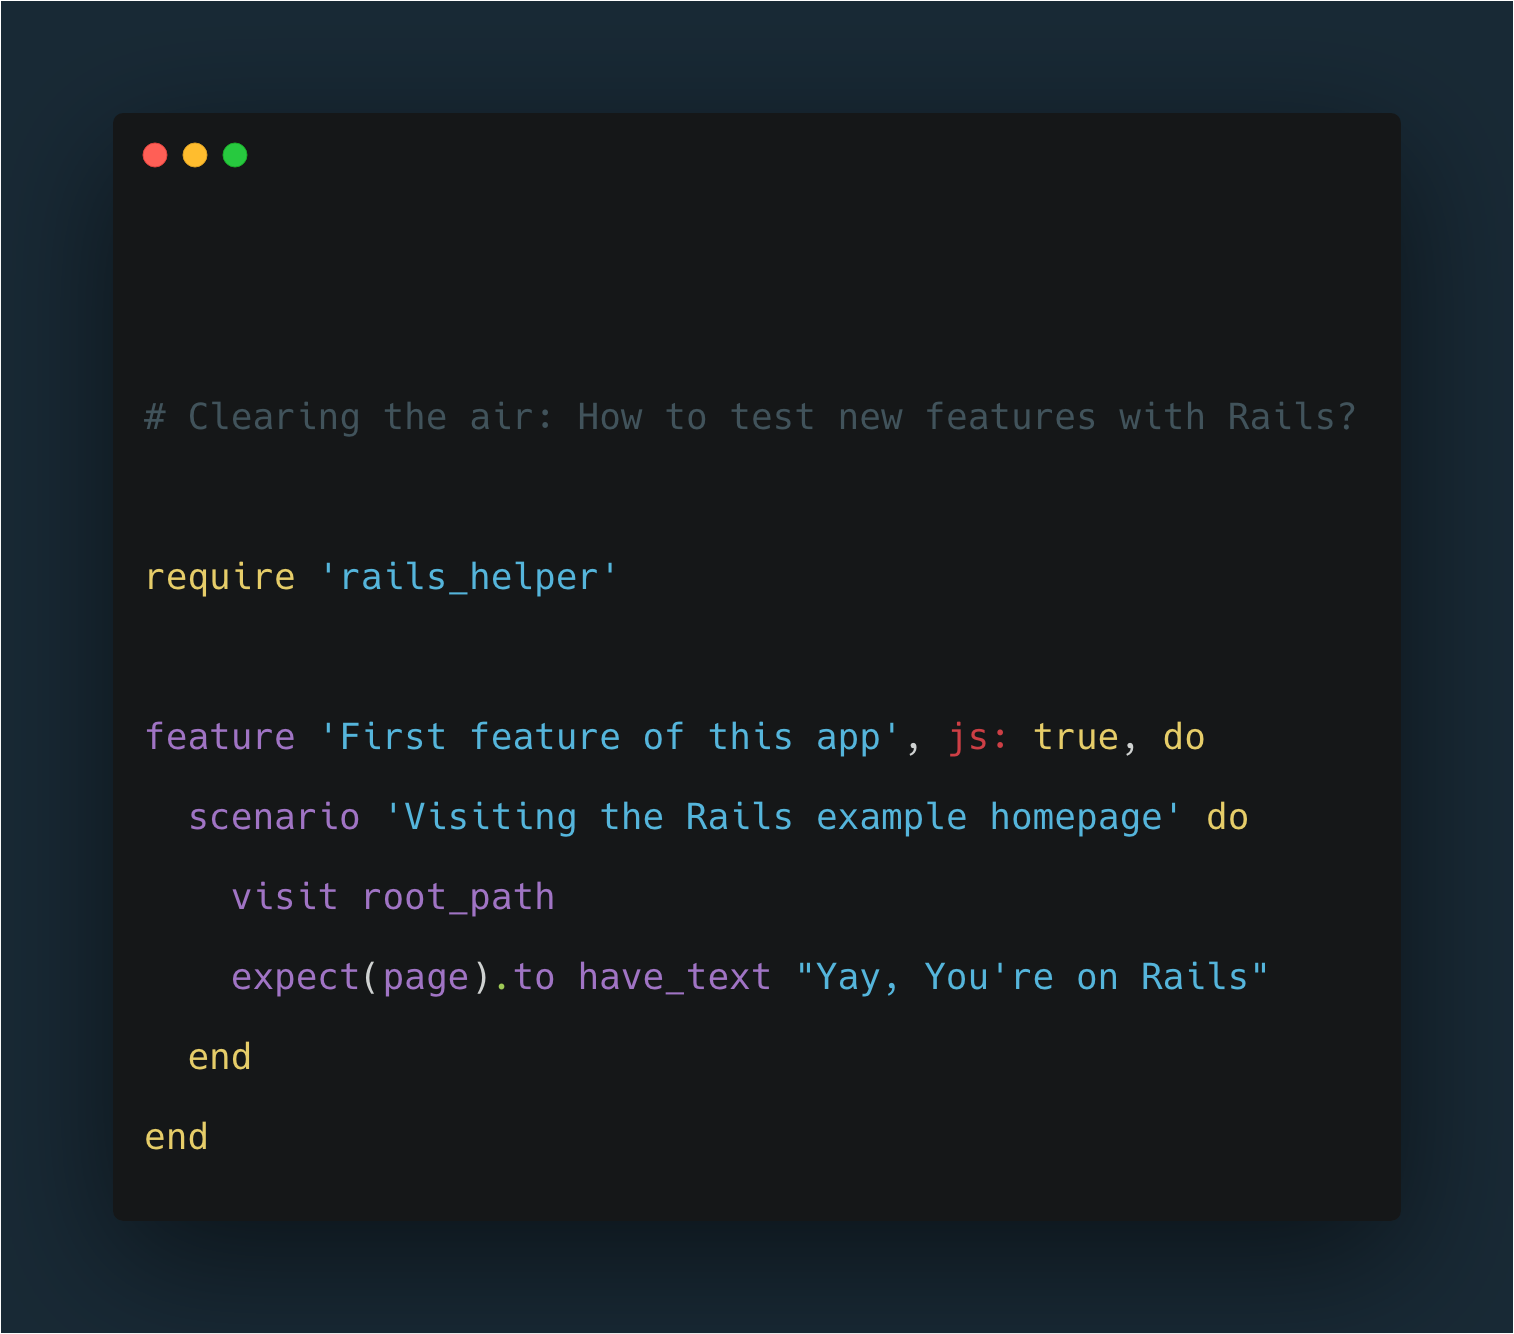
The file contents should be something like this:
require 'rails_helper'

feature 'First feature of this app', js: true do
  scenario 'Visiting the Rails example homepage' do
    visit root_path
    expect(page).to have_text "Yay, You're on Rails"
  end
end
This simple feature spec will visit the default Rails root page and check that the text “Yay, You’re on Rails” is in the page. Please note that in order to run this on Chrome we need to pass js: true at the top of the spec.
Finally, we can run the spec by running:
bundle exec rspec
If we want to see Chrome executing the spec, we can take advantage of the environment variable we set up before:
OPEN_BROWSER=1 bundle exec rspec
This should run the spec on a visible Chrome window.
Pushing our app to GitHub and setting up CircleCI
Ok, we got to a point where we can run our feature spec locally. Now we need to push everything to GitHub and set CircleCI up to run our test suite on every code push.
Let’s do a first big commit with everything we have done so far:
git add .
git commit -m "setup rails app with a feature spec"
Next, we need to add the CircleCI config file. This is how CircleCI knows how to build our project and run our tests.
mkdir .circleci
touch .circleci/config.yml
The file contents should look like this:
version: 2 # use CircleCI 2.0 config file syntax
jobs:
  build:
    docker: # run the steps inside a Docker container. More info about it on https://www.docker.com
      - image: circleci/ruby:2.6.1-node-browsers # we need the -browsers variant so it includes Chrome
        environment: # environment variables for our app
          RAILS_ENV: test
    working_directory: ~/repo
    steps:
      - checkout # special step to check out source code to working directory
      - run: gem install bundler # installs bundler
      - run: bundle install # installs project dependencies
      - run: bundle exec rspec # runs our tests
Once we have the file ready, let’s commit it into the project:
git add .circleci
git commit -m "add circleci config"
We can now push our app to GitHub by using the following commands:
git remote add origin https://github.com/username/repo # You can this URL from the repo you created for this app.
git push origin master
If everything went well, you should see your app code if you visit the repo URL.
For the last step, we need to tell CircleCI to start pulling our code and running our tests. Here’s how to do it:
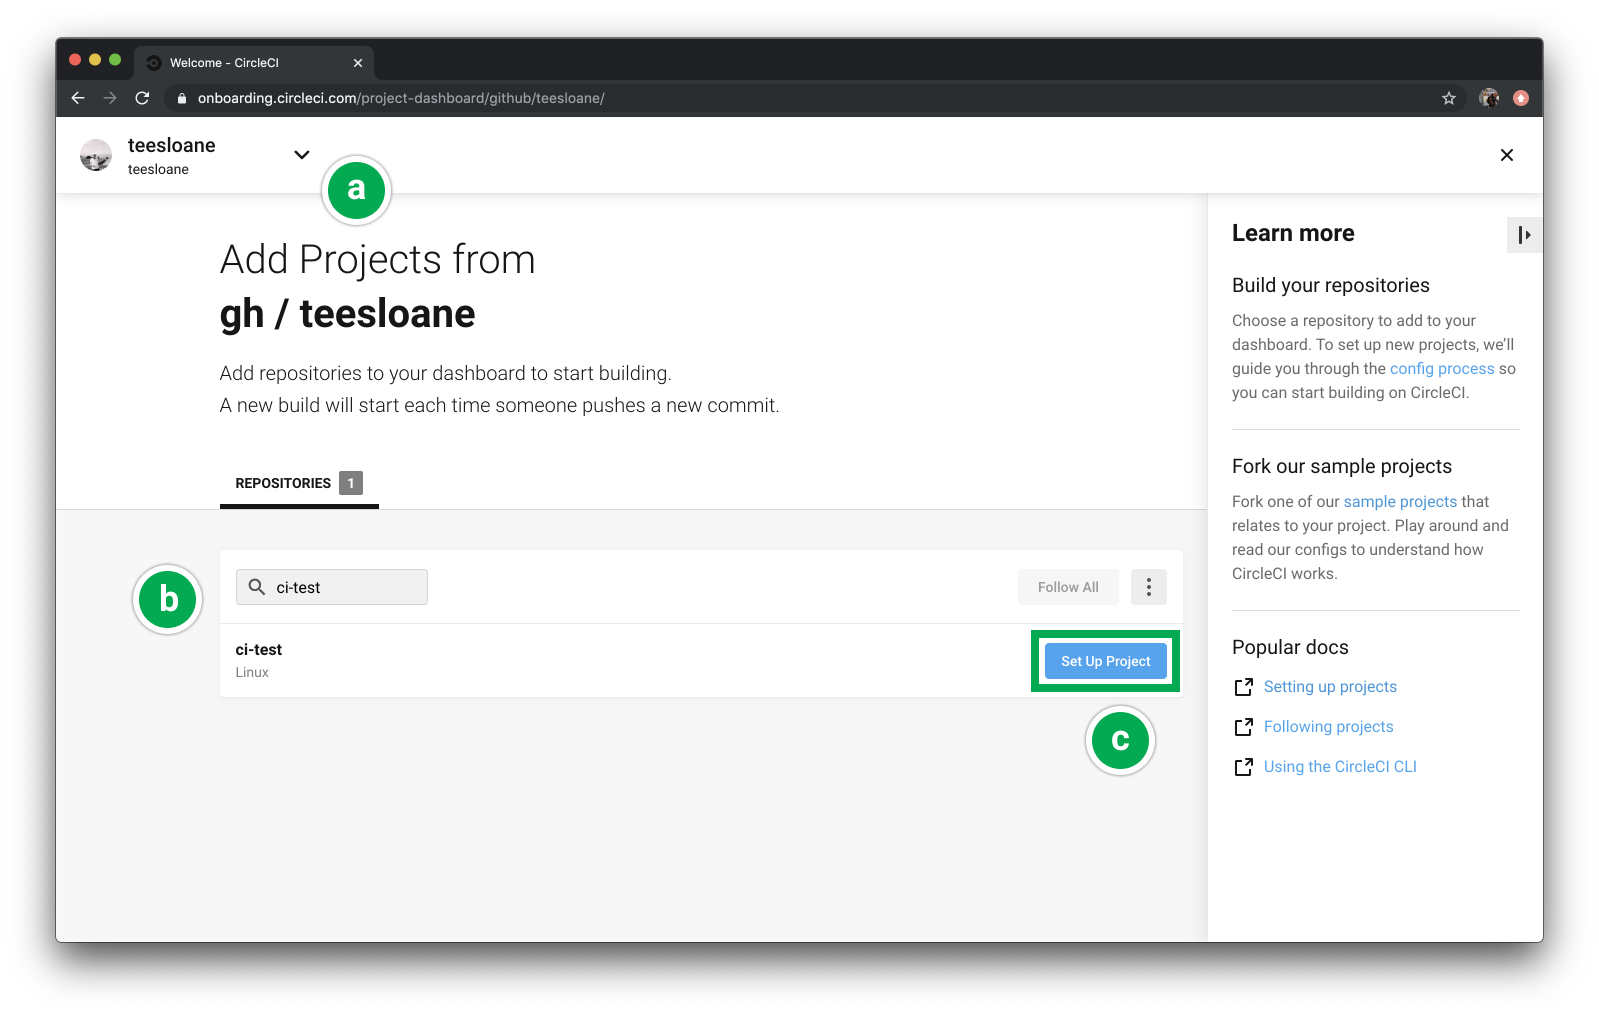
- Head over to https://circleci.com/dashboard. Login with your GitHub account if required. Once in the Dashboard, click on the Add projects button in the sidebar menu.
- Look for your project and click the Setup project button.
- Set the specifics to build your project. Then click on Start building.

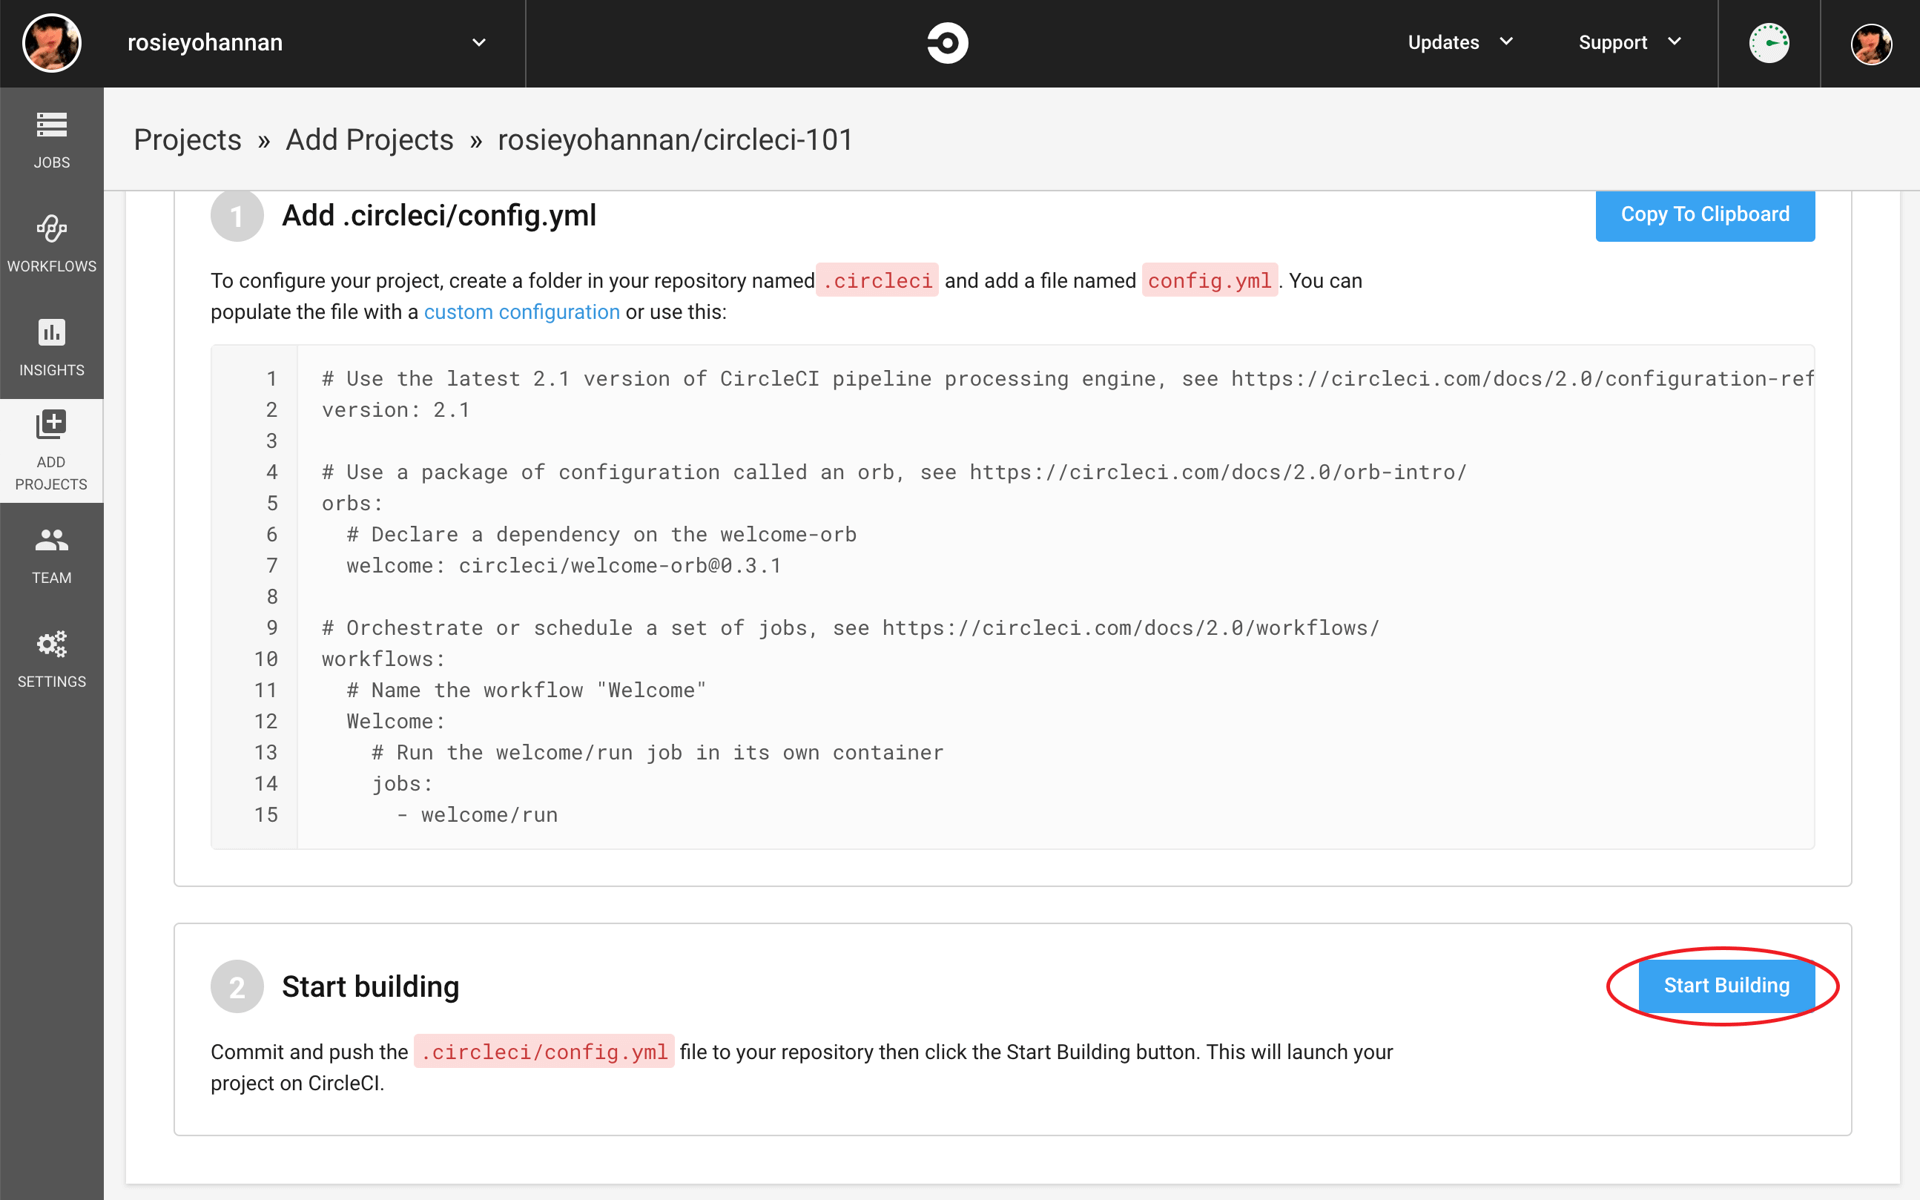
- Profit.
If done correctly, you should see your project in the CircleCI dashboard, and your first build job should finish successfully in a couple of seconds.
So, that’s how you do it. Easy peasy, isn’t it? If you have any questions, issues, or something to share with us, please write them down in the comments section below.
Happy coding!